Introduction
In today’s fast-paced digital world, optimizing images is a crucial aspect of website performance. Slow-loading images can deter visitors and harm search engine rankings. That’s why it’s essential to optimize images effectively. Whether you need to optimize a single image or a bulk collection, this guide has got you covered. By following these steps, you can enhance your website’s speed, engage your audience, and improve overall user experience.
Step 1: Download and Install Riot App
Start by visiting the official Riot website (https://riot-optimizer.com/) and navigate to the download section. Choose the version compatible with your operating system (Windows, macOS, or Linux) and initiate the download. Once the download is complete, follow the installation instructions provided by the app.
Step 2: Launch Riot App
After successful installation, locate the Riot app icon on your desktop or in the applications folder and double-click to launch it. The app will open with a user-friendly interface, ready for image optimization.
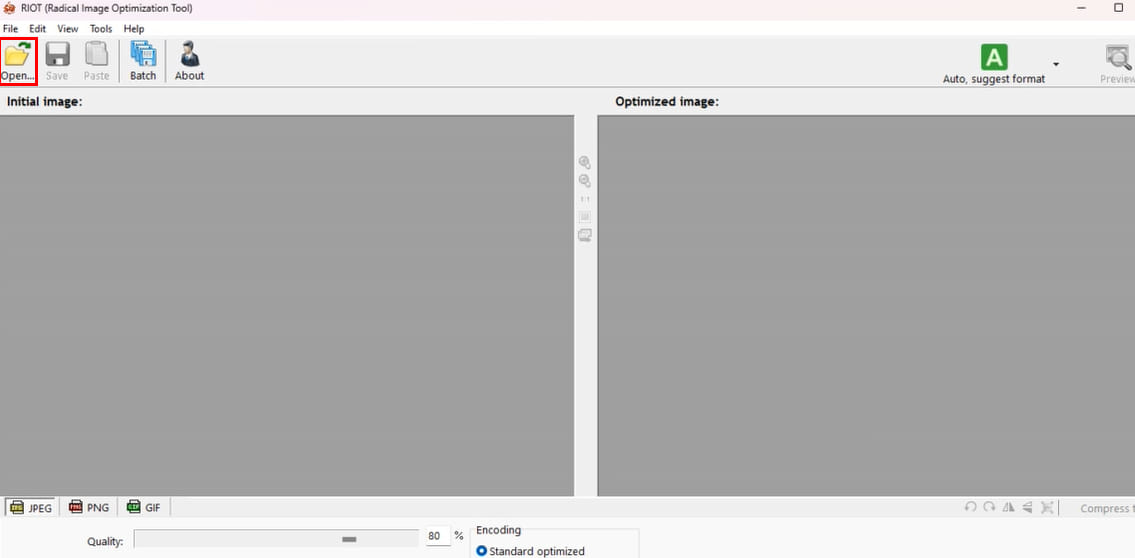
Step 3: Add Images for Optimization
- Single image
In the Riot app interface, you will find an “Open” or a drag-and-drop area. Click on the button or drag and drop the single image you want to optimize into the app. Riot supports various image formats, including JPEG, PNG, and GIF.
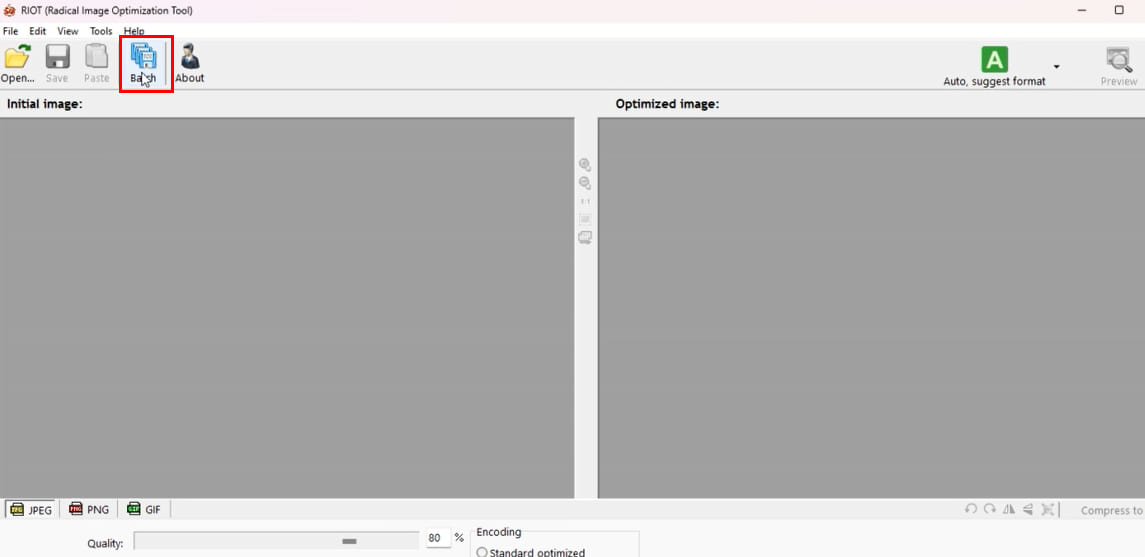
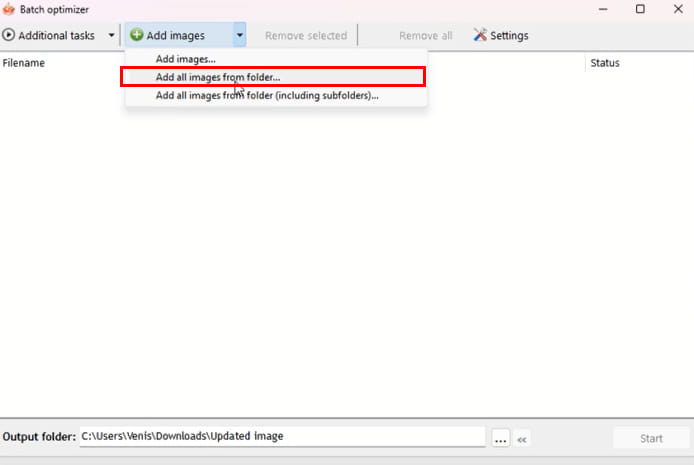
- Bulk images
In the Riot app interface, look for a “Batch” or a drag-and-drop area.
Click on “Add images”.
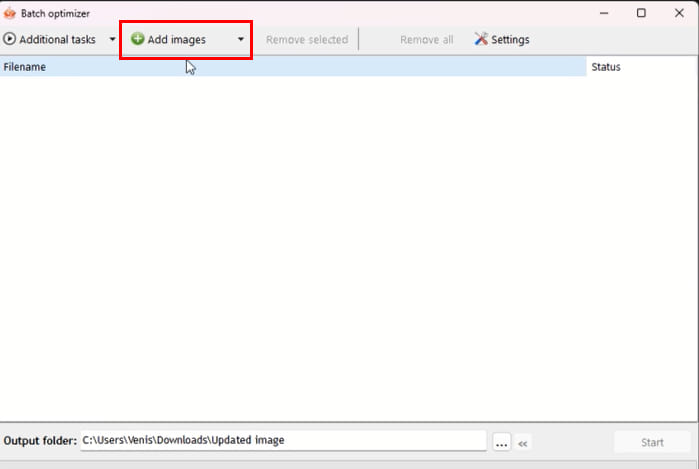
Then select “Add all images from folder”.
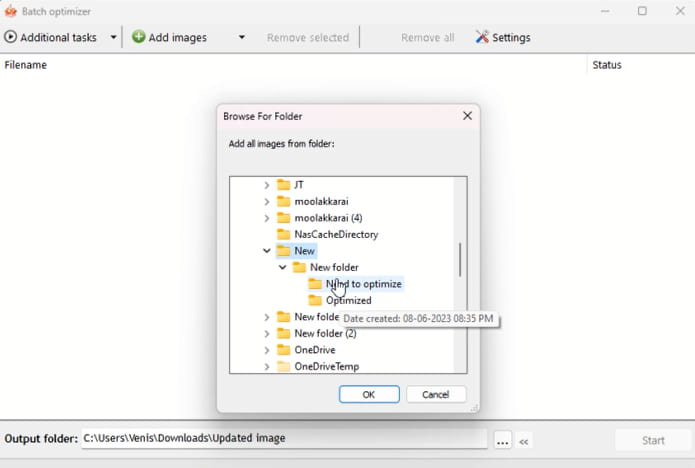
Click on the folder that has all the bulk images you want to optimize.
Step 4: Adjust Compression Settings
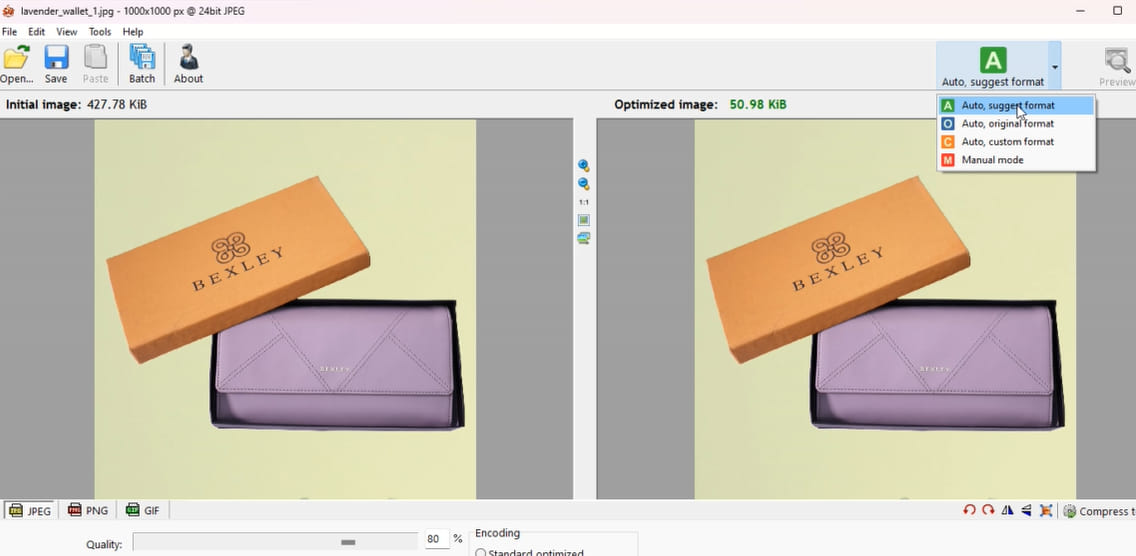
Once you’ve added the images, Riot will display a preview of each image along with compression settings. These settings allow you to control the level of compression and image quality. Experiment with different compression levels to find the right balance between file size reduction and visual quality.
Step 5: Preview Optimized Images
Before applying the compression, it’s essential to preview the optimized versions of your images. Riot provides a side-by-side comparison of the original and optimized versions, allowing you to assess the visual impact of the compression. Take your time to ensure that the optimized images meet your requirements.
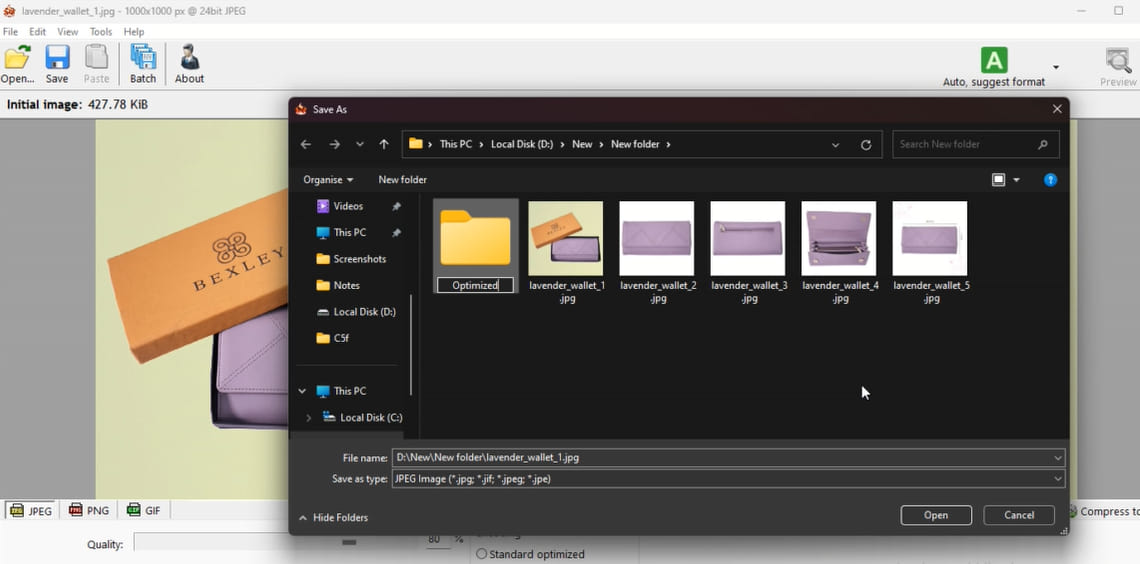
Step 6: Apply Compression and Save Optimized Images
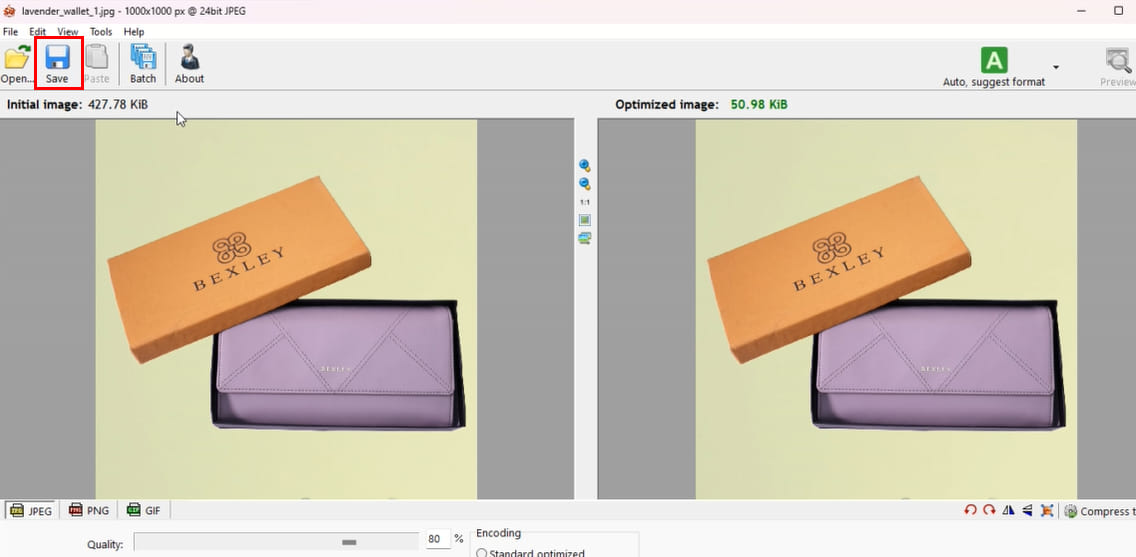
Once you are satisfied with the previewed results, it’s time to apply the compression and save the optimized images. Look for a “Save” button within the Riot app interface. Click on it, and Riot will process the images, reducing their file sizes while preserving visual quality. Choose a destination folder to save the optimized images on your computer.
Step 7: Replace Original Images with Optimized Versions
Now that you have the optimized images, it’s time to replace the original images on your website with the optimized versions. This step ensures that visitors to your site benefit from the reduced file sizes and improved loading speed. Upload the optimized images to your website’s content management system or replace the existing images on your server.
Step 8: Test and Monitor Performance
After implementing the optimized images, it’s crucial to test and monitor your website’s performance. Use tools like Google PageSpeed Insights or GTmetrix to evaluate the impact of image optimization on page load times. Monitor your website’s performance regularly and make adjustments as needed to ensure optimal image delivery.
Conclusion
Optimizing images using the Riot app is a simple and effective way to enhance website performance. Whether you have a single image or a bulk collection, following the steps outlined in this guide will help you reduce file sizes without compromising visual quality. Remember to regularly optimize new images and monitor your website’s performance to ensure an optimal user experience.