
Overview
In this blog, we will discuss about one ot the main features of Magento2, that is ‘Plugins’. In magento 2, plugins are used to override a single functionality. By using Plugins, we can modify the behavior of a class while there is no need to change the class directly. A plugin ( also called as interceptor) is a class that modifies the behavior of public class functions by intercepting a function call and running code before, after, or around that function call. This allows us to substitute or extend the behavior of original, public methods for any class or interface.
In Magento 3 types of plugins are available:
- Before Plugin – Input changes
- After Plugin – Output changes
- Around Plugin – Both Input and Output changes
Without further delay, let us see how to create a Magento 2 Plugin.
Step 1 : Create all the commonly needed files:
Refer this blog and create module.xml file inside etc folder and registration.php file inside Code5fixer/Pluginexample folder. Here, Pluginexample is the name of the module folder.
Step 2 : Declaration of Plugin:
To use Plugin, first of all, we have to define it in di.xml. Create an xml file inside etc folder and name it as di.xml
The contents of di.xml file will be:
di.xml
<?xml version="1.0"?>
    <config xmlns:xsi="http://www.w3.org/2001/XMLSchema-instance" xsi:noNamespaceSchemaLocation"urn:magento:framework:ObjectManager/etc/config.xsd">
    <type name="Code5fixer\Pluginexample\Controller\Index\Example">
        <plugin name="Code5fixer_Pluginexample_Plugin" type="Code5fixer\Pluginexample\Plugin\ExamplePlugin" sortOrder="10" disabled="false"  />
    </type>
</config>
Here,
type name : A class, interface, or virtual type, which is observed by a plugin.
plugin name : An arbitrary plugin name that identifies a plugin.
plugin type : The name of a plugin’s class or its virtual type.
Step 3 : Create Plugin Class:
Now let us create plugin class that we defined in di.xml and use before, after or around method as per our need.
To do this, create a folder inside Pluginexample folder and name it as Plugin. And inside Plugin folder, create a php file and name it as ExamplePlugin.php
The contents of ExamplePlugin.php file will be:
ExamplePlugin.php
<?php
namespace Code5fixer\Pluginexample\Plugin;
class ExamplePlugin
{
    public function beforeSetTitle(\Code5fixer\Pluginexample\Controller\Index\Example $subject, $title)
    {
        $title = $title . " to ";
        echo __METHOD__ . "</br>";
        return [$title];
    }
    public function afterGetTitle(\Code5fixer\Pluginexample\Controller\Index\Example $subject, $result)
    {
        echo __METHOD__ . "</br>";
        return '<h1>'. $result . 'phpstack-687217-2624724.cloudwaysapps.com' .'</h1>';
    }
    public function aroundGetTitle(\Code5fixer\Pluginexample\Controller\Index\Example $subject, callable $proceed)
    {
        echo __METHOD__ . " - Before proceed() </br>";
         $result = $proceed();
        echo __METHOD__ . " - After proceed() </br>";
        return $result;
    }
}
Step 4: Create Controller Class:
Now, it is necessary to create a controller class. As we have seen much about controller, let us get straight into the point. Let us create a folder inside Pluginexample folder and name it as Controller. Inside controller folder create another folder and name it as Index. Inside Index folder create a php file and name it as Example.php
The contents of Example.php file will be:
Example.php
<?php
namespace Code5fixer\Pluginexample\Controller\Index;
class Example extends \Magento\Framework\App\Action\Action
{
    protected $title;
    public function execute()
    {
        echo $this->setTitle('Welcome');
        echo $this->getTitle();
    }
    public function setTitle($title)
    {
        return $this->title = $title;
    }
    public function getTitle()
    {
        return $this->title;
    }
}
routes.xml: To make a controller to work, we need routes.xml file.So, create a folder inside etc folder and name it as frontend and inside frontend folder create an xml file and name it as routes.xml
routes.xml
<?xml version="1.0" ?>
<config xmlns:xsi="http://www.w3.org/2001/XMLSchema-instance" xsi:noNamespaceSchemaLocation="urn:magento:framework:App/etc/routes.xsd">
    <router id="standard">
        <route frontName="helloworld" id="helloworld">
            <module name="Code5fixer_Eventsexample"/>
        </route>
    </router>
</config>
Step 5 : Run all the necessary commands
We need to run commands like setup:upgrade, static-content:deploy, setup:di:compile, reindex and cache:flush from the Magento root directory.
To know more about more magento commands, refer this blog.
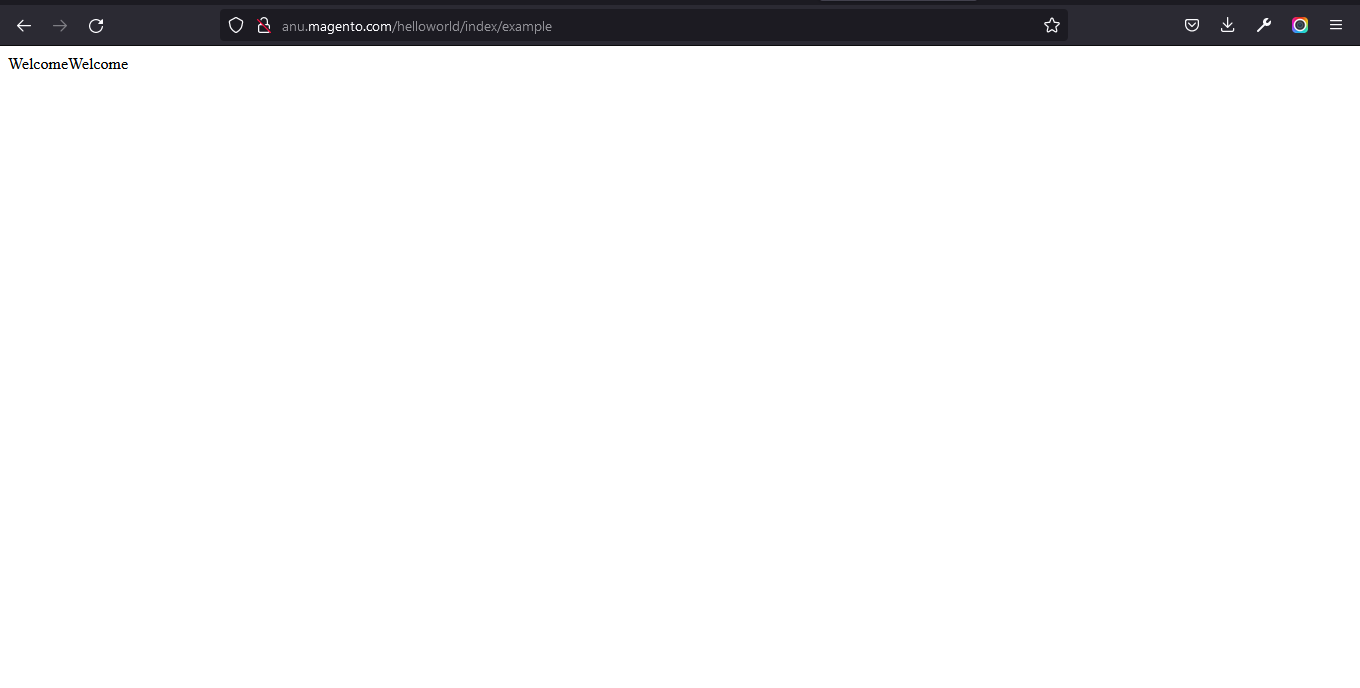
Open the below URL in your browser
You could also download the above module here
After downloading this module:
- Extract the downloaded zip file
- Paste the extracted Code5fixer folder into /app/code/ folder in your magento root directory.
- Run all the necessary 5 commands and check for output.
This module is developed using Magento ver. 2.4.3-p1 version. But if you try this in older or newer versions, it may give some errors.
You could also refer to this demo video for better understanding
We hope our guide would be very useful for you. If you have any questions, feel free to reach us anytime by leaving a comment below.
Check out our new blogs here